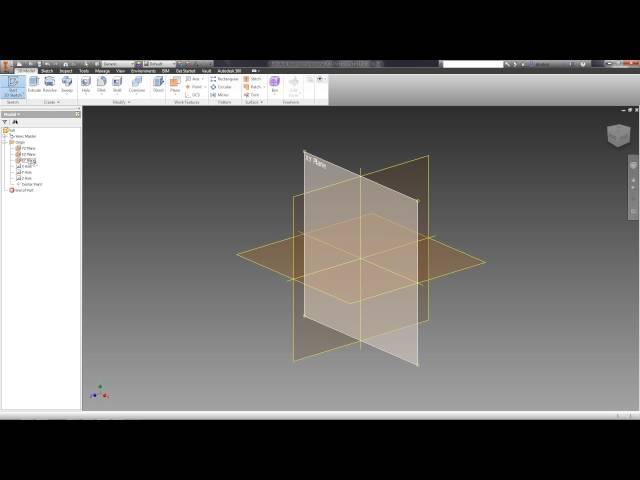
03. OPERATIONS EXTRUDE AND REVOLVE (Autodesk Inventor tutorials)
Do you want to learn the Inventor? Download full guide+video tutorials: https://www.udemy.com/inventror/
OPERATIONS «EXTRUDE» И «REVOLVE»
For creation of solid bodies, the main operations are "EXTRUDE" and "REVOLVE". We will consider them.
Let's create a new detail. We will create the sketch. As the plane of the sketch we choose the XY plane. We will create a rectangle with the sides of 50 and 30 mm – we choose the Rectangle function, we will enter from the keyboard 50, the Tab key and 30.
We will make a rectangle symmetric concerning the beginning of coordinates. For this purpose we will create vertical position of the middle of the lower piece of the rectangle from the beginning of coordinates and horizontal position of the middle of the left piece from the beginning of coordinates. Then we accept the sketch.
Then goes the operation "Extrude". As the sketch we at once will choose a rectangle since it is the only closed figure.
In the field "Distance" we put 70.
It is possible to specify the direction of extrude of the initial plane too: up, down or symmetrically, and also asymmetric with input of distance of one of sides.
In the "More" tab it is possible to enter a corner of extrude both positive, and negative.
We will leave a corner - 0 ° and extrude – up, distance – 70. Then press OK.
We save the detail under the name "Detail 2" and close it.
We will open the detail which is already created by us earlier "Ear".
We will execute the operation "Extrude " for it. Since on the sketch of some closed contours, the sketch automatically doesn't get out. It is possible to choose each closed contour as the sketch. The exception of a contour is made by pressing Shift or Ctrl key.
We choose all sketches, except for a circle.
Depth of extrude can be regulated by means of the Handle tool which is represented in the form of an arrow:
We enter the exact value of extrude – 8 mm.
On a forward side of the detail we create one more sketch.
For this purpose we press the Sketch function and choose the forward plane of the detail as the plane:
Contours of this side are projected on the received sketch.
Let's create an ellipse. We specify dependence of vertical position of the center with the center of a circle. We specify the size of small radius of an ellipse – 5 mm. Big radius – equal two small radiuses:
We will tie the center of the ellipse to the lower side on distance of 10 mm. We accept the sketch.
We choose the operation "Extrude". We choose an ellipse as the sketch.
Extrude can be made with banding, subtraction and crossing of the received bodies. We will exclude the ellipse from our detail.
As restriction we choose not "Distance", but "To" and we will choose an opposite side of the detail:
Now it is possible to see that all actions with the detail are displayed in the browser and it is possible to edit the sketch or operation at any time. For example, we will edit the first sketch.
We will enter value of radius of the first circle – 14 mm. We accept the sketch and see that the detail changed.
We save the detail and close it.
Let's consider the operation "Revolve".
We will create a new detail. We will call it "Hub". In the XY plane we create the sketch. We will draw a horizontal line 100 mm long with the beginning at the beginning of coordinates.
After that we will allocate a piece and on the Format tab we will press "Centerline". This piece will be a revolve axis.
Then we draw a detail contour. Thus dependences of parallelism and perpendicularity are imposed automatically.
We put down the sketch sizes. To the axial line the size is automatically put down as diameter, but by means of the right button of the mouse it is possible to establish it as the linear size:
03. OPERATIONS EXTRUDE AND REVOLVE (Autodesk Inventor tutorials): https://www.youtube.com/watch?v=l2V0DAhZ0kA
#autodeskinventor
#autocadinventor
#autodeskinventorprofessional
#inventorcad
#inventortutorial
#autodeskinventortutorial
#inventorprofessional
#inventor3d
#inventorautodesk
#inventordesign
#cadinventor
#autodeskinventortraining
#inventorprogram
#3dinventor
#inventorautocad
Тэги:
#autodesk_inventor_revolve #autodesk_inventor_extrude_circle #inventor_revolve_tutorial #autodesk_revolve #extrude_solid_inventor #operations_extrude_and_resolve_(autodesk) #plane_of_symmetry_autodesk_inventor #revolve_a_line_inventor #revolve_autodesk_inventor #revolve_function_inventor #revolve_in_inventor_around_curved_line #revolve_inventor_circle #revolve_on_an_axis_inventor #revolve_y_axis_autodesk #share_sketch_for_extruding_autodesk #side_tab_on_inventorКомментарии:
БАТЯ И СЪЁМКИ 2
BATEK_OFFICIAL
From the Women at Volvo Cars
Volvo Cars
Hot Productivity Tools of the Month
Tool Finder
ISOLA LIRI - MATILDE
valdo palmigiani
Какой напольный унитаз выбрать | Как выбрать унитаз напольный
Покупай с умом! Как выбирать товары
Grouchy Granny! | Granny Mobile - Series 3 | Bluey
Bluey - Official Channel
Ryan Visits The Making of Harry Potter in Japan!
Ryan's World


