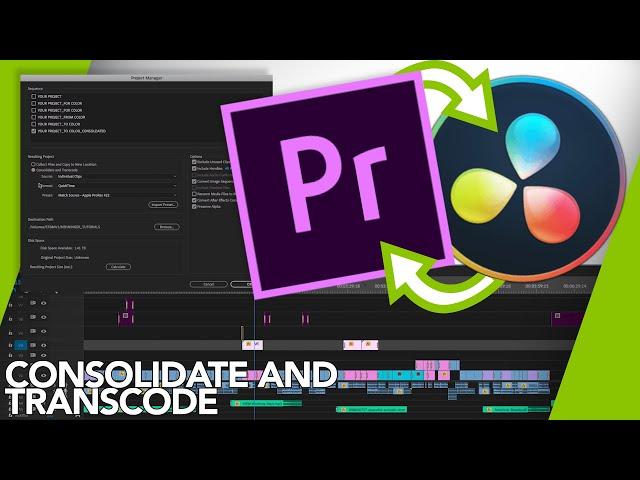
Consolidate & Transcode for Sending to Color in Adobe Premiere Pro
Learn more about Henninger Media Services here: https://www.henninger.com/
Thanks to VideoTakes and Bay Journal for allowing us to use their film “An Island out of Time” (https://smithisland.blog/) in our tutorial.
The prep process includes:
• Making a duplicate of the sequence for safety
• Simplifying the sequence for consolidation by removing everything but the video clips
• Making our own transcode preset in Media Encoder
• Selecting options in Consolidate and Transcode
• Output settings that will help remove artifacting and other small issues that can introduce problems during the color correction process
• Outputting an XML, for Color using the new Consolidated clips
• File naming
• Zipping the consolidated assets for sending to Color
Тэги:
#Premiere #Pro #Adobe #2019 #Consolidate #Transcode #Color #Grading #Correction #XML #Zip #artifacting #Media #Encoder #Henninger #Services #DaVinci #Resolve #Round-tripКомментарии:

Great tutorial, thanks! I did notice that, whereas the Project Manager estimated it would consolidate down to 1.6BG, the folder you zipped looked like it was more like 11GB (?). Avid Media Composer, when it consolidates a sequence, not only excludes unused clips, it also only includes the portion of each clip that ended up in the timeline (plus handles, if you include them). Does Premiere do this, or does it bring along the entirety of any clip that ended up in the timeline, no matter how little of it was used?
Ответить
Can you please do a revised version of this? In PP 2023 under the "Render at Maximum Depth" I see an Export Color Space option that doesn't show up here in the 2019 PP. Which option to select there?
Ответить
Very clear and concise, I really enjoyed watching your video
Ответить
whenever I consolidate using this method, it just doesnt work properly. I guess I am doing something wrong, although I haven't done anything else than following the steps. For example, when I open up the timeline from a consolidated project, the cuts are in correct places, but the actual moment of the clip is from totally different part of the footage, so the entire timeline is just a bunch of random clips put together... also, although calculated space was meant to be 4GB it resulted in over 80GB. It also seems not to be working with speed ramps at all, please help :(
Ответить
Man, you deserve way more subs. I renamed the files in my premiere pro project. I do real estate videos and renaming them is crucial to piecing together the timeline. I decided to give Resolve a chance and learn how to color grade in Resolve and when exporting the XML from Premiere and Importing into Resolve I got a lot of missing media errors because things were not named correctly. The only issue that I ran into is that I used speed ramps in Premiere Pro and the footage in Davinci that has the speed ramp is just a still frame. Thanks for all the info!
Ответить
Hey, I am trying this method but instead of getting prores422 files I am getting the raw files just moved to a different folder. What could that be?
Ответить
Can We Use Prores 4444? Instead of 422HQ? May I know What's the Difference
Ответить
really good video, thank you!
Ответить
Hello, thank you so much for this! IT was super helpful!! I was wondering if there was any chance of getting the follow up video of how to link back the media once the colourist is done with it? Many thanks for all of the work you put on these tutorial! IT is much appreciated
Ответить

![How To Make A vTuber Avatar Icon And Model For FREE [QUICK GUIDE] How To Make A vTuber Avatar Icon And Model For FREE [QUICK GUIDE]](https://invideo.cc/img/upload/by1MR1c0eDVfUHI.jpg)


