Laravel Install on cpanel
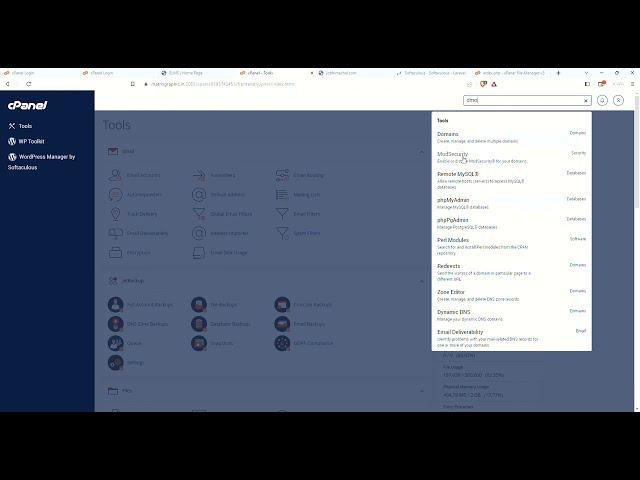
To install Laravel on cPanel using Softaculous, you can follow these steps:
Log in to your cPanel account.
Look for the Softaculous Apps Installer section and click on the Softaculous icon. It is usually located towards the bottom of the cPanel dashboard.
In the Softaculous dashboard, navigate to the "PHP" section in the left sidebar and click on "Frameworks."
On the Frameworks page, search for "Laravel" using the search bar or scroll down until you find Laravel in the list of frameworks. Click on the Laravel icon.
Click on the "Install" tab to begin the installation process.
Fill in the installation details:
Choose the version of Laravel you want to install (if multiple options are available).
Select the domain or subdomain where you want to install Laravel.
Specify the directory where you want to install Laravel (leave it blank to install in the document root directory).
Enter an administrator username and password for the Laravel application.
Optionally, you can customize the site name, description, and other settings.
Scroll down and review the advanced options if you want to make any changes. These include database settings, cron jobs, backups, and other configurations.
Click on the "Install" button to start the installation process. Softaculous will install Laravel and configure the necessary files and database.
Once the installation is complete, you will see a success message with the details of your Laravel installation.
You can access your Laravel application by visiting the URL where it is installed. If you installed it in the document root directory, simply enter your domain name in a web browser.
That's it! You have now installed Laravel on cPanel using Softaculous. You can begin using Laravel by accessing your application and exploring its features and functionalities.
Комментарии:
Laravel Install on cpanel
Code Guru
ИДЕАЛЬНОЕ сердце крючком. Любимая схема!
Игрушки крючком. Описания | Катя Глебова
ПОЛУЧИЛИ ПОСЫЛКИ ОТ БИНЕНХАУСА, УЛЕЙ И КОМПЛЕКТУЮЩИЕ К НЕМУ.
ПАСЕКА ВЛАДИМИРА РЯБУХИНА НА УРАЛЕ. (ПАСЕКА ВЛАДИМИРА РЯБУХИНА)
Сколько ИГРУШЕК связала за ДВА МЕСЯЦА. Мои игрушки крючком и бесплатные амигуруми мк
Игрушки крючком. Описания | Катя Глебова
ЛЕВ. ПРОГНОЗ НА ЯНВАРЬ 2025 года, ОТ МАРГАРИТЫ ДУХОВНОЙ.
Маргарита Духовная
JAVOXIR & BARCHINOY WEDDING TRAILER
SHOXONA MEDIA
Test Drive From Hell (YouTuber Buys His Dream Car!!!)
MillionDollarExtreme2
Scream Queens 1x04 - Cafeteria Scene
Sillum B.


