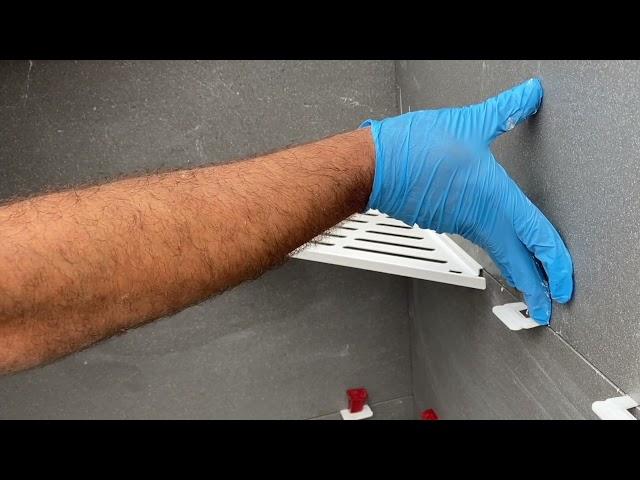
R90 Shelf Installation while tilling (Tile In) | Étagère R90 Installation avec la pose du carrelage
R90 Shelf - Installation while tilling (Tile In)
Install wall tile with grout joints 1/16" (2mm) wide or greater. Starting from floor to the position where R90 shelf is to be installed.
Insert R90 Shelf at the corner placing it over the edge of the tile, before installing the next row of tiles.
Ensure it is aligned properly. No support required.
Complete installing wall tiles & grouting.
Remove the protective film on R90 Shelf.
Apply suitable sealant (e.g., Silicone) between the R90 shelf and wall tile on the top to form a water-tight seal.
Allow sealant to cure prior using the R90 Shelf.
Étagère R90 - Installation avec la pose du carrelage
Fixez le carrelage mural avec un coulis d'une largeur de 2 mm ou plus. En partant du sol jusqu'à l'endroit où l'étagère R90 doit être montée.
Placez l'étagère R90 au coin en la plaçant sur le bord du carrelage, avant de poser la rangée de carrelage suivante.
Assurez-vous de son alignement correct. Aucun soutien n'est nécessaire.
Complétez l'installation du carrelage mural et le jointoiement.
Retirez la couche protectrice de l'étagère R90.
Appliquez un mastic approprié (par exemple, du silicone) entre l'étagère R90 et le carrelage mural sur le dessus pour assurer une bonne étanchéité.
Laissez le mastic sécher avant d'utiliser l'étagère R90.
Комментарии:
НЕВЗОРОВ: Я уговорил Уткина молчать о войне
Ходорковский LIVE
Boro Bhalo Lok Chilo | বড় ভালো লোক ছিল | Razzak | Anju Ghosh | Prabir Mitra | Anwar Hossain
G Series Bangla Movies
De 10 ChatGPT prompts die ik dagelijks gebruik
Wietse Karkdijk
How Slay The Princess Tackles Love
Maybe: Salem
How to Get ANYONE on Your Podcast!
Think Media


