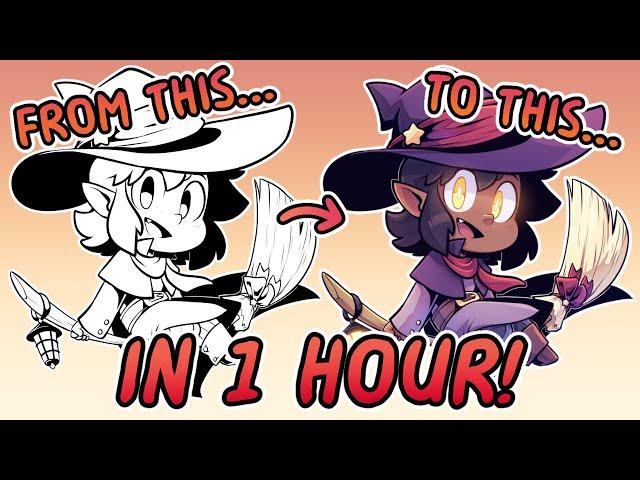
Quick and Easy Coloring Tutorial with Clip Studio Paint
Комментарии:

I'm still working on getting my new mic perfectly set up, so I apologize if the audio sounds weird at all! I don't know anything about audio.... I think the EQ I did may sound funny.... ack >n<
Also.... The thumbnail is a lie. I'm sorry for deceiving you all... I actually colored this in 45 minutes. :3c

constructive feedback on video : please just get to the point instead of rambling on and on on :(
Ответить
MAGNI DESMOND JUMPSCARE hahahaha when you cut to stream I did the biggest double take. Wonderful tutorial, really useful techniques. RIP Maglord.
Ответить
The connect line tool doesn't work for me.
Ответить
Another thing you can do if you have characters you draw a lot and need to access their pellets often is use the Color Set window to create your own pallets! All you have to do is go to the color set window (usually is with the color wheel) and click on the little wrench icon. Click the "Create new color set" option and name it. The set will automatically be added to the list with the default sets already available! Then you will be met with a grid of transparent squares and all you have to do is select a square, use the eye dropper tool to get the color you need, and click "add color" (the icon with the arrow and square) or "replace color" (the icon that looks like a tear drop with a plus) And add the pallet!
Doing this means you can have all of the pallets you could need already in your program for you to access in an instant whenever you need them. You can also export and import color sets so you can save a back up of the sets to your computer or transfer the pallet you already made to another person or device.
Hope this helps!

Actual good tutorial 👍
Ответить
The Paint Unfilled Area Tool does something similar. You can to set it to target all colors.
Ответить
thank you for the tutorial ^^
Ответить
wow i love your color style superb~!!!
Ответить
THANK YOU SO MUCH! This is gonna be a huge time saver for me!
Ответить
Hello! I know this tutorial is a bit old (half a year haha) and as someone who struggles with the empty pixels in corners and such, I want to use the "remove dust tool" option.
Thing is I can't find it in my program, and I DO use Clip Studio, so I was wondering if you could try to explain where to find them or how to activate them, since I don't seem to have those along the rest of my default tools.
If anyone else reads this comment and is also able to help it would be HUGE, thank you

Thxs think this will help just getting into this and felt overwhelmed now have a few ideas
Ответить
I LOVED this video, I took notes too, something I almost never do(willingly) and would definitely like to see a color theory video!
Ответить
Hi! Thank you.
I am a long time user of CSP and my greatest struggle is coloring. I've focused a lot on lineart and now I'm decent at it (read: I mostly always like what I do), but coloring is my bad spot. I love the process of filling the lines up like a child with a marker, but the lights and the color transitions are never good enough. I sometimes give up on digital because on paper it's easier.
Today I used your tips and for once I got a good piece, and I'm satisfied with it. It is a long journey on accustoming on things and set preferences, but I'm glad I've seen your video to start this all. Thank you very much

Dude dude dude, you just saved me HOURS of drawing time. I wanted a way that I could use the multiply for shading without it looking too repetitive. That gambit tool…… is going to be so good.
Ответить
I'm crying over all the time I lost coloring "as in a color book" This tip changed everything, thank you!
Ответить
Good tutorial. There's actually some theory behind the shadow outlines: it's the core shadow which is the darkest part of a curved surface - the relatively thin line is the part that's most turned away from the incoming light... the neighboring shadowed parts are curved at a different angle and catch more scattered light. Of course this does not have to be at the edge of the shadow but it's a stylized version of this concept.
Ответить
Does anyone know if Krita has its own remove dust and line correction tools?
Ответить


![Overwatch Collegiate Championship 2024 [Day 1] Overwatch Collegiate Championship 2024 [Day 1]](https://invideo.cc/img/upload/RWNmYzBQampuREs.jpg)
![[ENG SUB] Wang Yibo 王一博 is so done with Henry [ENG SUB] Wang Yibo 王一博 is so done with Henry](https://invideo.cc/img/upload/STdReVdveUJEeGk.jpg)
