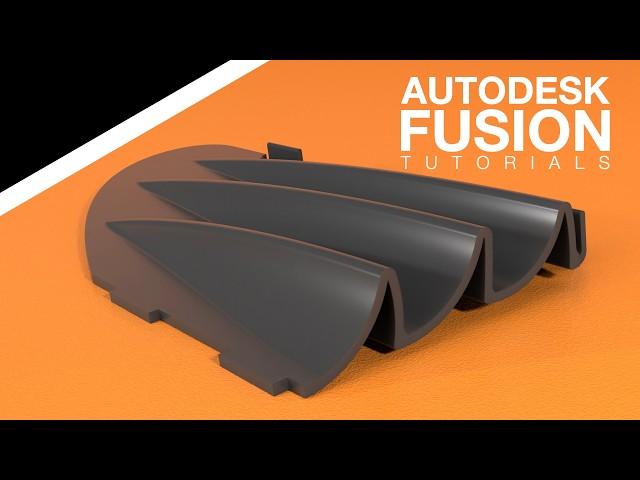
Autodesk Fusion 360 - Complex Car Part - Intermediate/Advanced Tutorial (2024)
Комментарии:

This is hands down the best Fusion tutorial I've ever seen. The cadence, visuals, workflow and just the right amount of explaining. This video alone already has got me thinking about Fusion in a different way. Can't wait to get into your other videos! Thank you!
Ответить
Always wanted to know how to measure a part trough images, this gonna save me so much time, amazing tutorial!
Ответить
Yay!!! Metric!!! :) I love your videos! Thanks for your time making it :)
Ответить
METRIC!!!
Ответить
That's cool! Great video
Ответить
Metric gang rise up! Love the metric, it makes the most sense for design for accurate measurements. Keep it up please!
Ответить
thank you
Ответить
So clear, so well explained. You have a new sub sir!!
Ответить
You shouldn't use that first point on the tape measure. tape measures move about a 1/16" depending on grabbing onto the edge or pushed against the face. So the beginning of the yellow part is not the 0 millimeter mark. I would have started at the 10mm mark and went from there.
Ответить
excelent tutorials thanks you so much. Here from Argentina
Ответить
Thank you for the great tutorial!
Ответить
Learned intersect and new ways to use project. Fusion is amazing and you make it look so easy.
Ответить
are the downloads he used available so we can do the process same way
Ответить
What are the pros & cons of using the shell command vs offsetting geometry to establish the thickness of your part?
Ответить
I love the tutorial! is it possible to get the images so we can practice along?
Ответить
Great video, which really helped me use Fusion, thanks 😀
Ответить
That was one of the best fusion tutorials I've seen, more like this👍👌
Ответить
keep it metric pls
Ответить
Hello, I cannot find the drawing / picture that was uploaded for this tutorial
Ответить
Hi From France, very interesting Tuto with excellent Explanations. Have a nice day
Ответить
You have earned my subscription with this one.
Very easy to follow along and clear explanations.

Great tutorial I learned of several tools that I didn't realize were a thing. Like 'Extend' which is sure going to be useful in the future. Thanks for this.
Ответить
Lots of tricks and new concepts. I was wondering if the whole piece could be parametric, or do the spline lines hinder that possibility? Keep up your awsome work!
Ответить
I agree with others on how well you deliver the information. I feel like I gained several levels in Fusion. I try watching others tutorials but find myself falling asleep within the first few minutes. Only thing I would say, that I learned from another YT channel, is since it's going to be 3d printed it doesn't need to be designed the same as an injection molded part. If the underside doesn't need to be hollow for fitment, don't. Makes it harder to print and doesn't save you anything. Something I've been trying to keep in mind when making parts to be printed
Ответить
Well done buddy, keep up the good work!
Ответить
My mind is blown!
I've been slowly teaching myself fusion over the last two years, purely as a hobbyist designing my own functional parts to 3d print. This is a fantastic video, that really highlights what's possible if you know how.
I'd love to spend a few days with you as it would take me hours if not days to draw this 😂

Love your style!
Ответить
this was an incredibly well done tutorial. i too really enjoy on the fly tutorials, because often times the mistakes and corrections people make give big learning opportunities and realizations to us trying to break into this skill. So glad i came across this video, as i've been watching Fusion 360 tutorials for quite some time, but it always felt like there's something else i just wasn't "getting". You do an excellent job sharing your knowledge. This helps me so much. Super valuable to me. Thanks so much! Can't wait to see more and check out other vids of yours.
Ответить
This is an awesome tutorial. So many techniques covered in one easy to follow video. This is now saved in my Fusion playlist. Thank you 👍
Ответить
Absolutely fantastic tutorial.
Ответить
Your tutorials are simply amazing! Thank you!
Ответить
Can u give us the photos?
Ответить
Hi I live in chile and I’m working on creating a dome or semi sphere of 600mm of diameter. The idea is to break it into smaller even components so I can 3D print them and screw them together so I imagine that every piece must have a lip to join them. This is going to be a mold for pouring a rubber like material. I have learned a lot from your videos but I’m still unable to do this. I am really thankful for all your work and efforts in making this tutorials.
Ответить
just perfect
Ответить
Great video!!
Ответить
As someone who worked in European top company for designing,development and manufacturing of exterior car parts, especially plastic ones, and as someone whose design is on many cars such as Porsche Cayenne, Land Rover defender, almost all Mercedes cars,etc, and as someone who works on Catia, I can say there is a reason why Fusion360 is not used in a single car company. This tutorial is amazingly explained, its amazing video, i love it very much, but please guys who are watching, acknowledge that this is purely for hobby purposes. Many things are wrong if we speak how it would be designing it in the real sector.
Parameters are definitely life saver, so do practice with it, its always useful. Also, if u are interested in automotive industry, please learn surfaces and forget about making manual dimensions or 2D skatches, cuz everything is done in 3D space.
Once again, amazing vid buddy, keep educating kids, and keep them motivated to take engineering path.
Love yall. Greetings from Europe.

awesome, thanks
Ответить
.....your explanaitions are spot on amazing
Ответить
Super good video! THANKS!
Ответить
good stuff
Ответить
amazing tutorial. learned a lot in no time
Ответить
This is easy to do if we know how to doit but if we know how to do it we we wont be whatching this video so ...
Ответить
x1c to make in pps-cf ... car part done LOL
Ответить
I do this for a living.. and its fun to see someone do it differently... I take some of your shortcuts for sure LOL
Ответить
happy to see, my way of working until now, seems to be "good" or at least working and common. Thanks , nice vid.
Ответить
awesome content, thanks
Ответить
adding a tip for the canvas!
there is a calibrate function where you can set a distance from specific point to point and state in the canvas that distance measures X
it helps get precision level measurments with your canvas :) or helps remove the eyeballing part

