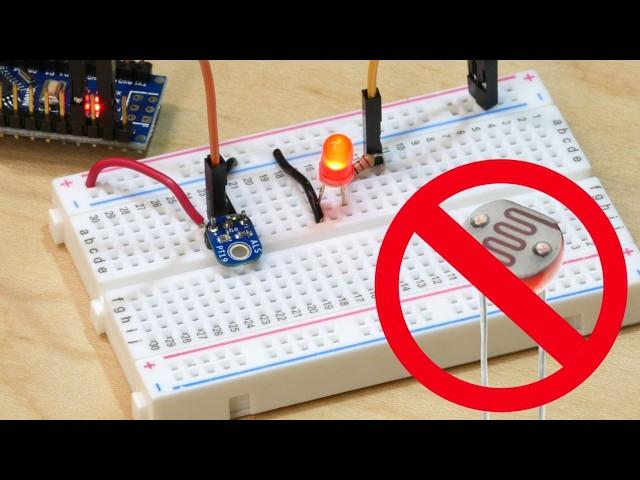
Measure Light with Arduino (LDR vs Phototransistor showdown!)
Learn how to control an LED using two different kinds of light sensors and an Arduino Nano (you can use Uno as well). We'll cover using a phototransistor and an LDR (light dependent resistor or photoresistor) and why a phototransistor is a better and more modern choice.
CHAPTERS
00:00 Introduction
00:44 LDR Explained
01:55 Phototransistors Explained
03:28 Using Sensor on a Breakout Board
08:48 Arduino Code for Light Intensity
11:58 Reading Sensor Values
12:35 Code Improvements
14:59 Turning LED on in Darkness
15:48 Using Bare Sensor
18:52 Effects of Resistor Values
WIRING DIAGRAMS AND SOURCE CODE
https://mattinglot.com/electronics/el10/light.zip
PARTS USED
- LED (need a single LED): https://amzn.to/3AEkxp2
- Resistor (220ohm 10K, 68K, 270K): https://amzn.to/4cBVD6w
- Arduino Nano (use any Arduino or compatible microcontroller): https://amzn.to/4dEDt5t
- Breadboard, hookup wires
Select at least one of:
- LDR/Photoresistor Breakout (Demo 1, suggest getting a sensor kit): https://amzn.to/46Yun0U
- Phototransistor Breakout (Demo 1): https://www.adafruit.com/product/2748
- Bare LDR (Demo 2): https://amzn.to/3T2njKV
- Bare Phototransistor (Demo 2): https://amzn.to/3WPrV88
As an Amazon Associate I earn from qualifying purchases.
DISCLAIMER:
For educational purposes only and not meant to replace proper training. Working with electricity and tools can be dangerous. Use the information in this video strictly at your own risk.
If you see mistakes please leave comments (preferably with a source) so I can make corrections if needed.
Тэги:
#phototransistor #light_sensor #ldr #transistor #arduino #arduino_tutorial #ldr_tutorialКомментарии:
연준 (YEONJUN) ‘GGUM’ Official MV
HYBE LABELS
Бутылка-инфузер для заваривания чая. Действительно хороша?
Чай для чайника
Комикс:Король лев-,,Правление Шрама".Часть #5.
МАРУСЯ PETS
[PANEL] Siber Güvenliğe Döngüsel Yaklaşım
Soitron Siber Güvenlik Servisleri





![[PANEL] Siber Güvenliğe Döngüsel Yaklaşım [PANEL] Siber Güvenliğe Döngüsel Yaklaşım](https://invideo.cc/img/upload/b0JHT05Ubmx0SEQ.jpg)


