Комментарии:

Спасибо, помогло
Ответить
Thanks
Ответить
I was playing around in GIMP trying to fix the hard edges issue and found that Filters -> Distorts -> Lens Distortion : Main -80, followed by Filters -> Distorts -> Lens Distortion : Main -75; Edge +25 made the hard edges go away and resulted in a nearly perfect skybox. At those settings, it's even smoother than Unity's default skybox (which I never realized actually does have some minor hard edges if you look close enough).
Ответить
Hiya! Thanks for the tutorial. I'm new to Unity. What did you save your PS file as? PNG?
Ответить
There's a 3D plugin in photoshop where you can directly paint onto a 3D skydome
Ответить
good job Kyle :)
Ответить
"Now you may notice this fairly major error that makes the sky look like the inside of a giant cube, but I'm just going to say it doesn't matter so I don't have to address it." Brilliant.
Ответить
Thanks you very much !!! I finally found out why my two images don't match. You just had to switch from right to left and left to right...
Ответить
I love you!!! everything worked!
Ответить
you just slapped a png to the sky...
Ответить
great tutorial, thank you so much!!
Ответить
Great explanation! I was able to make a nice skybox with some of the default brushes in PS. I also used the warp tool to make my clouds warp upwards
Ответить
Fantastic tutorial, super useful. Thanks ! :D
Ответить
Would have subsribed if you didn't mention stealing software. Not cool.
Ответить
Clear and Easy to follow, and in Windows. Very helpful
Ответить
Quick, easy and right to the point! Good tutorial thanks!
Ответить
Amazing Tutorial Subscribed😂👍
Ответить
the best tutorial ive ever seen. Thats how every tutorial should get ruled by
Ответить
why the hell is the left and right beeing inverted? i wondered all the fucking time what i was doing wrong...shouldnt this be a bug or something? i cant find any logical way to explain why they would do this...
Ответить
Good Tuto. Thank's
Ответить
This helped a lot! - Thanks!
Ответить
the music is so fucking loud jesus
Ответить
You can use Panoramic shader, instead of 6-sided now, to just import the 360 image
Ответить
Can photoshop make a realstic sky and sun ???
Ответить
hehe "crap tool" :D
Ответить
Just create an artboard as a square, duplicate it, then you can export all of them at the same time individually. No need for guidelines beacuse the srtboard will be that size.
Ответить
Hi, I'm new for unity. May I ask that currently I'm having a 3D house model in unity and I wanna paint the wall and all the stuff on photoshop, how could I make it, or is there any tutorial you would recommend. Thanks
Ответить
What's that outro music tho
Ответить
If I recall correctly, in photoshop you can use the web slice tool to mark each image to be exported rather than crop several times. It should save you time if you wish to go back and repaint or re-export the skybox.
Ответить
filer>distort>spherize on maybe 80% can make the cubemap spherical!
Ответить
god bless my friend
Ответить
Good tutorial, Thank You!
Ответить
You can automate output with slices. You would have to delete some blanks and rename, but it beats doing one by one.
Ответить
As an aspiring game maker I find it infuriating that you would even mention torrenting software.
Ответить
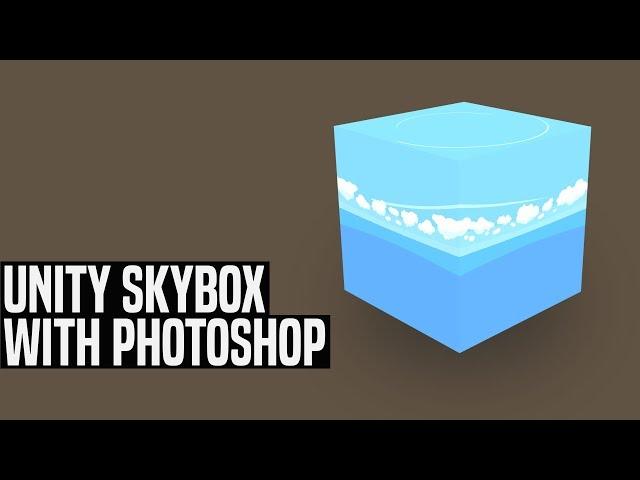
It's like finlands flag
Ответить
Great tutorial, thank you :)
Ответить
Tks u so much friend. Have a nice day.
Ответить
Thank God I just want to make what Castleminer Z should’ve been otherwise I’d have a whole lot of work to do!
Ответить
Great tutorial! But can someone please tell me how to apply this to a cube? I know I can't use skybox materials, but I don't know what to use. Please help
Ответить
ez fix for the hard edges using blender (free):
1. open blender
2. create cube
3. map your skybox onto the cube
4. invert the cube so normals face inwards
5. make the material shadeless
6. add a subsurf mod to the cube, bump it up till it looks spherical
7. make the cube big, 10x should work. adjust camera clipping for this.
8. camera time: make your camera a 90° fov camera with a square shaped rendering output
9. alt+r on your camera then rotate it -90° on X. this is your front view. keyframe it.
10. go to next frame, rotate 90° on Z axis. this is right.
11. repeat 2 more times then go to next keyframe, rotate 90°Z so you're back at front, rotate 90°X for up, keyframe it, next frame, 180°x for down, keyframe it.
12. set your animation to end at your last keyframe
13. in render settings, change your output to go into a folder of choice, then set it to png
14. render animation
15. you now have correct images without hard lines. what can i say you're welcome

Thank you! :D It was very helpful.
Ответить
I fucking love the speed of your tutorials. Finally someone who's not wasting my time.
Ответить
Super helpful tutorial! your sky box also reminds me of LOZ: WindWaker
Ответить
Subbed just for that intro. Good quality.
Ответить
Great video!
Ответить
Excatly what i needed thank you.
Ответить